Friday, February 22, 2013

Three Cheese Manicotti

It's Friday.  It's the second Friday in Lent.  What's for dinner?  Good question.  It's 4pm here and this is what I am craving:  Three Cheese Manicotti.

Of course, I have none of the ingredients on hand, it's snowing (hasn't stopped all day) and I really don't feel like going to the grocery store.

However, I am going to blog about it :)  It's a pretty killer manicotti recipe   It's one of those recipes you file under "fancy".  Even if it really isn't fancy, it was definitely fancy when I first learned how to make it over 15 years ago.  It was the first from-scratch recipe that I really mastered.  It was always the recipe that you made when you wanted to impress someone.  As well, you can assemble it a day ahead of time - which is especially nice if you are short on time or plan to serve this to guests.  Just put it in the fridge and then bake the next day.  Serve this with a green salad and a nice red wine and voila!  Dinner.  Or, if you have hearty carnivores in your household - use the manicotti as an accompaniment to a good steak (that's how I prefer it).  Or, if you enjoy a meatless meal - have at it!  Enjoy.


Three Cheese Manicotti
3/4 Cup Chopped Onion
1 Clove Garlic, Minced
1 Tablespoon Olive Oil
1-16oz Can Diced Tomatoes
1-8oz Can Tomato Sauce
1 Teaspoon Sugar
1 Teaspoon Oregano
1/4 Teaspoon Thyme
1 Small Bay Leaf
8 Manicotti Shells
2 Eggs, Beaten
2 Cups Shredded Mozzarella Cheese
1 and 1/2 Cups Ricotta Cheese
1/2 Cup Grated Parmesan Cheese
2 Tablespoons Parsley
1/2 Teaspoon Oregano

For the sauce, in a medium saucepan, cook the onion and garlic in hot oil until tender but not brown.  Add the undrained tomatoes, tomato sauce, sugar, 1 teaspoon oregano, thyme and the bay leaf.  Bring to a boil; reduce heat and simmer uncovered for 20-25 minutes until thickened.  Remove from heat and discard the bay leaf.

Meanwhile, cook the manicotti shells according to package directions;  drain.  Rinse the shells in cold water.

For the filling, in a mixing bowl, stir together the beaten eggs, the ricotta cheese, the Parmesan cheese, parsley, a 1/2 teaspoon of oregano, a dash of pepper and 1 cup of the mozzarella cheese.  Spoon the filling into the manicotti shells.

Pour half of the tomato mixture into a 2 quart rectangular baking dish.  Arrange stuffed manicotti in the baking dish.  Pour remaining sauce over the shells.  Sprinkle the remaining mozzarella over the top of the sauce.  If desired, cover and chill the manicotti for up to 1 day.

To serve, bake the stuffed manicotti covered in a 250 degree Fahrenheit oven for 35-45 minutes or until heated through.

Saturday, February 16, 2013

Butter Mints

Here in the Midwest it's common practice to put out a little dish of mints at dinner parties, bridal or baby showers, weddings and special events.  Often, it's store bought pastel  mints and many times people will mix the mints with nuts when they set them out.  My husband loves those mints.  And I love candy.  What happens when you mix those two statements together:  the wifey decides to make the hubby homemade butter mints.  


These turned out really great!  It took less than an hour from start to finish to make these and the recipe is plentiful.  I had enough for our family to enjoy for a few days and I also packaged them up in little bags along with some peanuts and gave them out to my coworkers on Valentine's Day.  Everyone absolutely loved them. 

Butter Mint Recipe
3 Tablespoons of Butter
1/4 Cup of Half and Half
1 Teaspoon Vanilla
2 Teaspoons Mint Extract
1 Pound of Powder Sugar
1-2 Drops of Food Coloring (optional)

In a small bowl, melt butter in the microwave.  Meanwhile, add the Half and Half, Vanilla and Mint into  the bowl of your stand mixer.  Add the Butter.  Next, add about a quarter of the powder sugar and mix well.  Turn off the mixer and add another quarter of the remaining sugar and then blend well.  Turn off the mixer again and add the remaining powder sugar and mix until well blended.  If desired, add your desired food coloring and mix one more time until the color is evenly disbursed.  The mixture should be the consistency of play-dough:  slightly damp, but not too dry.  

To shape, pinch a piece of dough off and roll into a small ball.  Then, on a clean surface, roll out the ball into a small log.  I rolled my dough out so that it was roughly the same width of my pinky finger.  Continue to do this until all the dough is rolled out.  Then, line the rolls up and slice pieces into a 1/4-inch to 1/2 inch pieces.    Place on a cookie sheet, uncovered, and let dry out for a minimum of 1 day.  The longer they air dry, the harder they will become - but will still melt in your mouth when eaten.

Yield:  I don't know.  It made a lot.  I used two jelly roll pans to dry them all out.  If I guessed, I would say it would fill 3 regular regular-sized sandwiched baggies.

I really, really liked these.  I know I will be making them again sometime soon.  I have some Cinnamon extract that I've been dying to use . . .and I think this would be a great recipe to try it out with (skip the Mint and use the Cinnamon).  

Monday, February 11, 2013

JELLO Pinwheels

Okay, I cannot lie:  I LOVE JELLO!!

There.  I said it.  I do. I really, really do.  Always have.  We ate it weekly when I was a kid.  Typically, it would be a Saturday night and served as a side dish with whatever sandwich we were eating for dinner.  Sometimes though, my mom would use it as an ingredient in other things - such as cookies or cake.  Those were delicious too.  But this post is for something I found while cruising the internet.  I found the recipe at www.joyofjello.com .  It looked fun, cute and yummy - right up my alley.  Plus, half of my family isn't really too impressed with Jello in general.  My youngest is only two - so we'll see if he follows mom.  I'm hoping he enjoys these.  And if not, the recipe doesn't make a whole bunch - rather, enough for he and I to enjoy.  I used raspberry Jello - but this would yummy with whatever flavor floats your boat.


Gelatin Pinwheel/ Fruity Roll-Ups
1 (3 oz.) pkg. jello
1/2 cup water
1 1/2 cups miniature marshmallows

Lightly spray an 8 or 9 inch pan square pan with non-stick cooking spray and make sure it is spread well.
Stir together water and jello powder in a glass bowl and microwave for 1 minute.   Remove bowl and stir well making sure jello is dissolved.  If necessary, return to microwave for 20 seconds or so to make sure jello is dissolved and stir again.

Add marshmallows and return to microwave for 20-40 seconds or until marshmallows have just begun to puff.  This is the key to a successful marshmallow layer!  If you over cook the marshmallows, they just dissolve and your roll-up will not have two distinct layers.

Whisk quickly until marshmallows are dissolved.

Pour quickly into prepared pan and chill in fridge for 45 minutes or until well set.  Creamy layer will float to the top.

Remove the pan from fridge.  At this point,  the jello should be very firm and easy to handle.  Gently pull one side away from pan and lift entire sheet onto counter.  Starting at one end, roll up tightly.  With seam side down, cut into 10-12 (1/2) inch slices.  We found it easiest to cut with a piece of thread or dental floss.  Just put the string around roll-up, cross and pull.

Serve immediately or refrigerate until ready to serve.


Friday, February 1, 2013

Green Chile Chicken Enchiladas


Mmmmmmmmm . . .tender, shredded chicken.......savory green chiles.......creamy, melty monteray jack cheese .......... oh my, my.  This recipe is (singing) awesome!  And I cannot take credit for it.  I am merely passing it on.  I first enjoyed these enchiladas in college.  A friend of a friend used to make them.  Not sure what she's up to anymore, but I can assure you that I told my friend whom I do still keep in touch with that I made these enchiladas this week.  I hope you enjoy them as much as I do!

Chicken Enchiladas
Ingredients:
1 Cup Onion, diced
2 T Butter, 3 T Butter (5 in total)
4 oz Can of Green Chiles
1/4 Cup Flour
3/4 tsp Salt (optional)
1 Cup Sour Cream
1/2 Cup Green Bell Pepper, Diced
2 Cups Cooked Chicken, Shredded
1 T Ground Coriander
2 1/2 Cups Chicken Broth (I prefer low sodium)
1 1/2 Cups Monteray Jack Cheese, Shredded
12, 6-inch Flour Tortillas

In skillet, melt 2 T butter and add the onion and green pepper.  Saute until softened.  Transfer to large bowl and add the chicken and green chiles.  

In skillet, melt 3 T butter and stir in the flour and corriander.  It will form a thick paste or dough.  A little at a time, start adding the broth.  Stir in a little at a time and mix thoroughly with a whisk.  Continue to add a little broth at a time and keep whisking until all broth has been added and the sauce is smooth.  Once smooth, add the sour cream and 1/2 cup of cheese and whisk until sauce is nice and velvety and the sour cream and cheese is fully incorporated.  At this point, taste it.  If it needs salt - add the salt (all or part of it).  

Take 1/2 Cup of the sauce and add it to the chicken.  Stir together.

Grease a 9x 13 baking dish.  Take 1 cup of the sauce and spread it on the bottom of the pan.  

Fill each tortilla with approximately 1/4 cup of the filling and place in the pan as you go.  Make two rows of 6 rolled enchiladas.   

Pour remaining sauce over the top and sprinkle with the remaining cheese.

Bake uncovered for 25 minutes in 350 degree F oven.  

034
These can be made a day ahead of time and store in the fridge.  When ready to bake, bake covered for 1/2 hour and then remove the lid and bake for an additional 15 minutes.


Sunday, January 20, 2013

Banana Bread

It's all of 10 degrees outside today, including the windchill it's actually -4.  I really don't mind the cold.  It gives me an opportunity to hunker down inside all weekend and practice being a recluse.  And what do I do while I'm inside being all nice and snug?  Bake of course!  And what is better than banana bread to warm up the house and your soul?

Please note, this recipe makes 2 loaves.  You could easily cut in half and make just one loaf.  However, if your family is anything like mine - both loaves will disappear rather quickly.

And a few words about bananas:  you'll notice that in my photos that my bananas are disgustingly brown.  That's because they were previously frozen.  Whenever we have bananas around the house that are beginning to brown, I throw them into the freezer for future use in baked goods.  The skin will turn almost instantly brown while inside the freezer.  To use, pull them out and let thaw for about an hour.  They'll be nice and soft.  You won't be able to peel them, but cut off one end and squeeze out the banana-goo.  Disgusting, but delicious for banana bread :)


Let's get this show on the road.  Mama is hungry for some deliciously, decadent and wonderful banana bread!

Here are the usual suspects:  mashed bananas, sugar (brown and white), butter, vanilla, eggs, flour, soda, salt, milk and vinegar. Preheat the oven to 350 degrees Fahrenheit.


Let's start by adding both the sugars and the butter to the mixing bowl.


I'm a big advocate of using brown sugar in banana bread.  It adds a little richness to it . . .it's like the secret ingredient that makes people wonder why your banana bread is better than their banana bread.  It makes it almost caramelly.  Anywho, cream it all together until it's one big mass of sweet, sweet, literally sweet butter.


And don't forget to get all jealous about my mixer.  I love it and I love the flames.  Have you met my mixer yet?  Her name in Pinky.  Original, I know.  She is one bad mama though!

Next, add the vanilla. . . .  speaking of which, do you subscribe to the notion of a cap full of vanilla is all you need? That's what my mama taught me.  Not sure if it falls under the category of being an Old Wive's Tale or if my mama was just being frugal.  Regardless, I'm going with it.


Next, you'll need to add in the mashed banana.  


And then the eggs.  We recently bought a 3 dozen box of eggs (for frugality reasons).  My hubby was concerned that they might go bad before we consume them all . . .yeah, right.  Is that a challenge?  In the past 5 days - I've used 17 of them.  No, it will not be a problem to consume them within the next two weeks.


Mix together until just combined.

For the next step, you'll want to measure out your flour, soda and salt into a bowl and combine.


Now, you'll want to measure out your milk and add the vinegar to the milk.  Give it a quick stir and you will see that it will instantly react and begin to thicken.


Now here is likely the trickiest part.  Your mixing bowl is likely getting pretty full.  But that's okay . . .it still has more room in it.  You'll need to add the flour mixture and soured milk alternately.  Twice.  So, add half the flour mix.   


 . . . .and mix on low until just combined.  Then add half the sour milk and mix on low until just combined.


After adding the first round of flour and then milk, be sure to scrape your bowl so that all is being combined.  Lather, rinse, repeat . . .I mean, add the remaining flour and mix and then the remaining milk and mix.  Remember, you do not want to over mix - this is a quick bread and we don't want big mountainous peaks on our loaves.

Let that rest for a minute and take this time to prepare your two loaf pans.  Grease them generously so that you'll have no problems later on when you need to remove these lovely loaves.  Once prepared, divide the batter evenly among them.  

Oh, wait . . .what's this I see?  


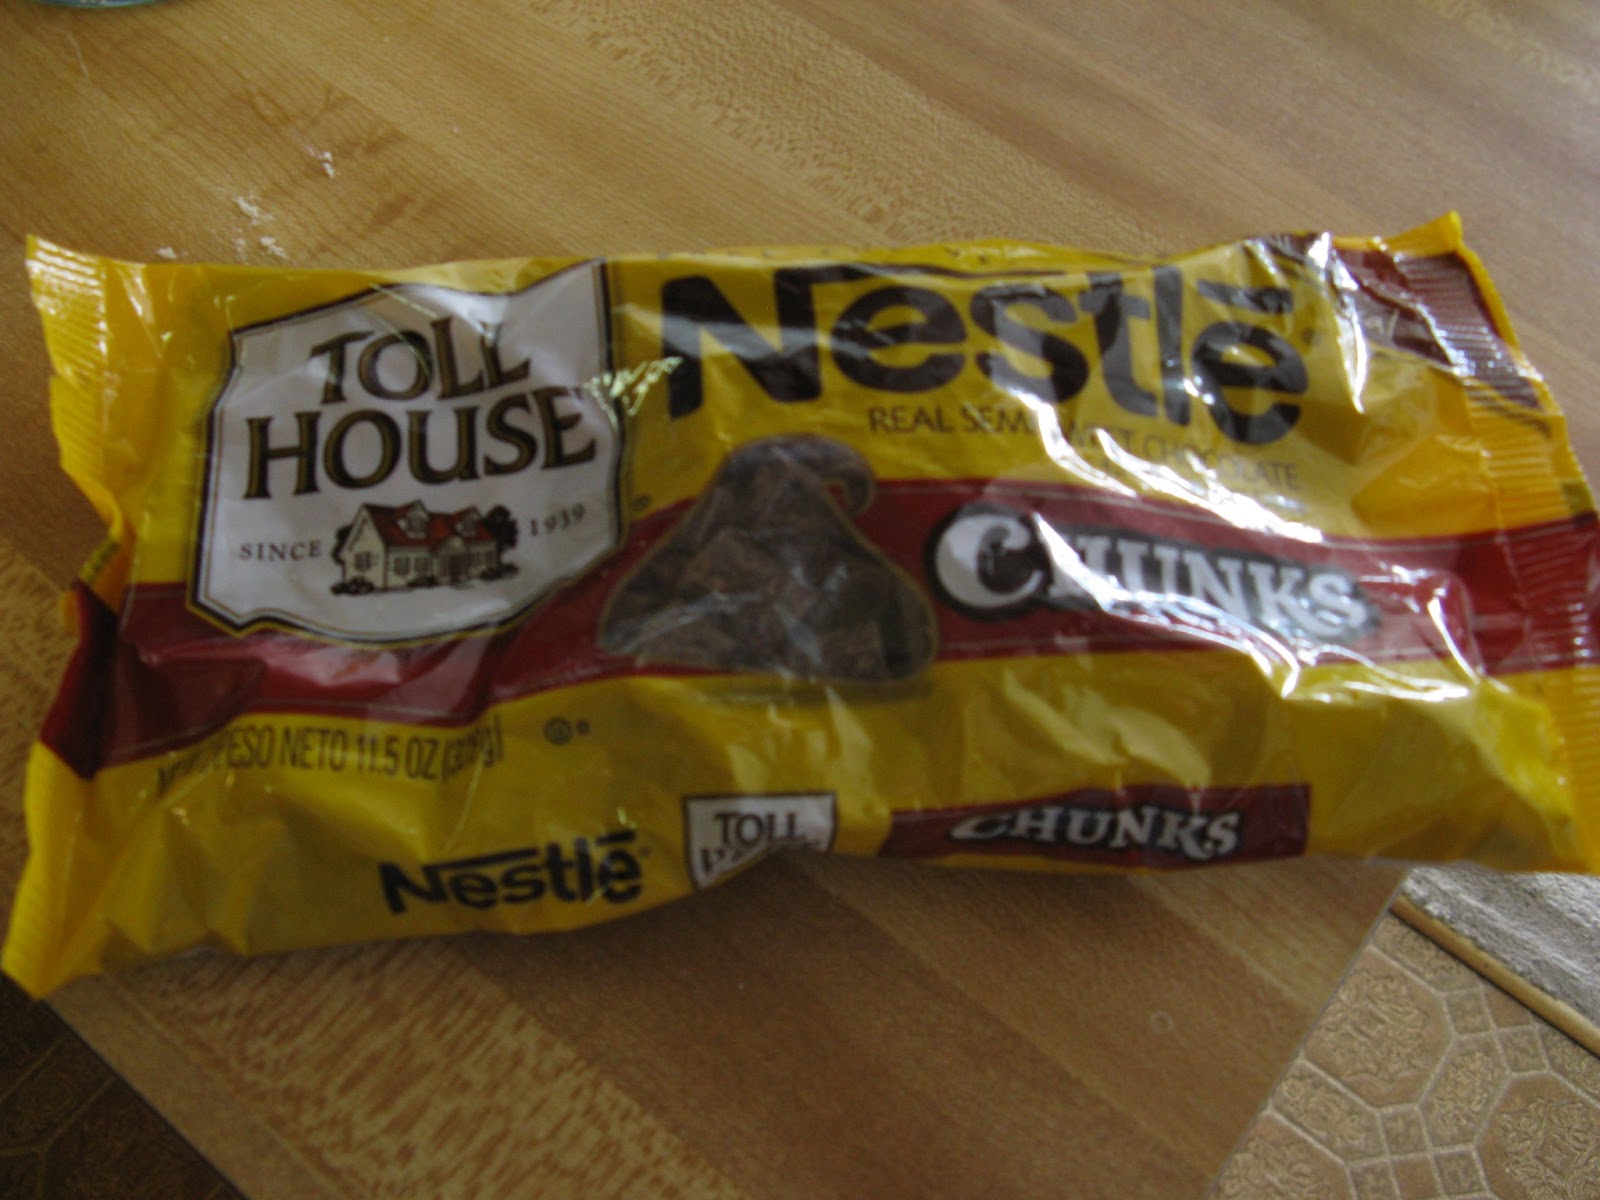
Oh did you hear that?  That little muffled voice saying, "I love banana bread . . .pick me!  Pick me!"  Clearly, that had to be coming from this bag of chocolate chunks.  Good thing I didn't fill my pans yet with the batter.

Instead, I think I'll fill one loaf pan with half the batter (approximately 3-1/2 to 4 cups of batter).  And then stir in these noisy and persuasive chunks of chocolate into the remaining batter.


Except for these two.  They were naughty and weren't playing nicely with the others.  Whatever shall I do with them?  (ahem)  Quality Check!


Now, because I can - and I have this nifty pan, I've decided to split this batter up into mini loaves.  So, you'll see that I'm actually going to bake 1 full sized loaf (no chocolate)  and 4 mini loaves (all with chocolate).


Bake the mini loaves for an hour.  When a toothpick inserted comes out clean and tops are spongy and a little cracked as well as the sides are beginning to pull away - that when they are done.  For a full sized loaf, it will take about 1 and 1/2 hours to bake.

And then you have to wait for them to cool.  Or at least wait until they've cooled enough to handle . ..and then slice and enjoy while still warm.


Banana Bread
1 and 1/2 Cups Butter
3 Cups Mashed Ripe Bananas (about 8 bananas)
1 and 1/2 Cups Brown Sugar
1 and 1/2 Cups White Sugar
4 Eggs
2 Teaspoons Vanilla
4 Cups Flour
2 Teaspoons Baking Soda
2 Teaspoons Salt
1 Cup Milk
4 Teaspoons White Vinegar

Cream the butter and sugars together.  Add the mashed bananas, eggs and vanilla.  Stir until well combined.  In a separate bowl, mix together the flour, soda and salt.  In another bowl, combine the vinegar and milk - stir and you will see it thicken immediately.  Now, add half the flour mixture to the banana batter.  Stir until well combined.  Add half the milk mixture and stir well.   Repeat until all the flour and milk are mixed into the batter.  Do not over mix.  Always stir just enough to get everything combined.

Divide the batter between two well greased loaf pans.  Bake at 350 degrees Fahrenheit for 1 hour to 1 and 1/2 hours or until a toothpick inserted into the middle comes out clean, the top is slightly cracked and the sides are pulling away from the pan.  Cool completely to remove from the pan.

Saturday, January 19, 2013

Lemon Meringue

When it's cold outside and the girls are coming over, what's one to do for dessert?  How about a lemon meringue?  I mean, come on, who doesn't love a thick, creamy lemon curd with a cloud of meringue on top . . .my mouth is actually watering here.  And they really aren't hard to make either.  They . . yes, I said they - as in multiples.  I opted to not make a pie.  Instead, I dished out the lemony goodness and fluffy meringue into ramekins for an individual dessert that is to-die-for.  And did I mention how cute they are?


Okay, let's get this party started.  I used a modified version of a recipe from America's Test Kitchen for Lemon Meringue Pie.  Here are the ingredients you will need:

Lemon Meringue Individuals (makes 6 ramekins)

Filling
1 and 1/2 Cups Cold Water
1 Cup White Sugar
1/4 Cup Corn Starch
1/8 Teaspoon Salt
6 Large Egg Yolks
3/4 Cup Lemon Juice
2 Tablespoons Unsalted Butter, cut into small chunks

Meringue
1/2 Cup Water
1 Tablespoon Cornstarch
6 Large Egg Whites
1/2 Teaspoon Vanilla Extract
1/2 Cup White Sugar
1/4 Teaspoon Cream of Tartar

Preheat oven to 325 degrees Fahrenheit.

Here are the usual suspects:


First thing is first.  Separate your eggs - yolks in one bowl, whites in the other.  Set aside for now.


Now for the filling.  In a large, non-reactive pan - combine the water, sugar, sugar and cornstarch.  


Heat on medium and bring to a simmer while constantly whisking.  


When it starts to turn translucent - remove from the heat.  Then whisk in the egg yolks two at a time until well combined.  


Add the lemon juice and continue to whisk.  


Add the butter and return the pan to the heat.  Mmmmmmmmmmmmm butter.


Keep whisking until the butter is incorporated and it is back to a full simmer.  Remove from heat and set aside.  Stand back and go "ahhhhhhhhhhhh, such a pretty shade of yellow . . .you are my sunshine."

Next, we'll make the meringue.  In a small saucepan, combine the cornstarch and water and heat over medium while whisking constantly.  Be sure to use a clean whisk.  When it begins to bubble and thicken, remove from heat and set aside.


In a large bowl, add the eggs whites and vanilla.  I prefer to use my big ol' Kitchen Aid Mixer.  And yes, it is pink with flames.  I'm just awesome like that.  It's okay to be jealous. 


Whip the egg whites on low until frothy.  

Meanwhile, mix together the sugar and cream of tartar in a small bowl.


Now, add the sugar mixture 1 tablespoon at a time to the egg whites.  I know it doesn't look like much right now, but the magic will eventually happen.  I promise.


Continue to whip the egg whites until soft peaks form.  


Then, add the cornstarch mixture one tablespoon at a time to the egg whites and continue to whip them.  


Once all the cornstarch mixture is all incorporated into the egg whites, continue to whip the meringue until stiff peaks form.


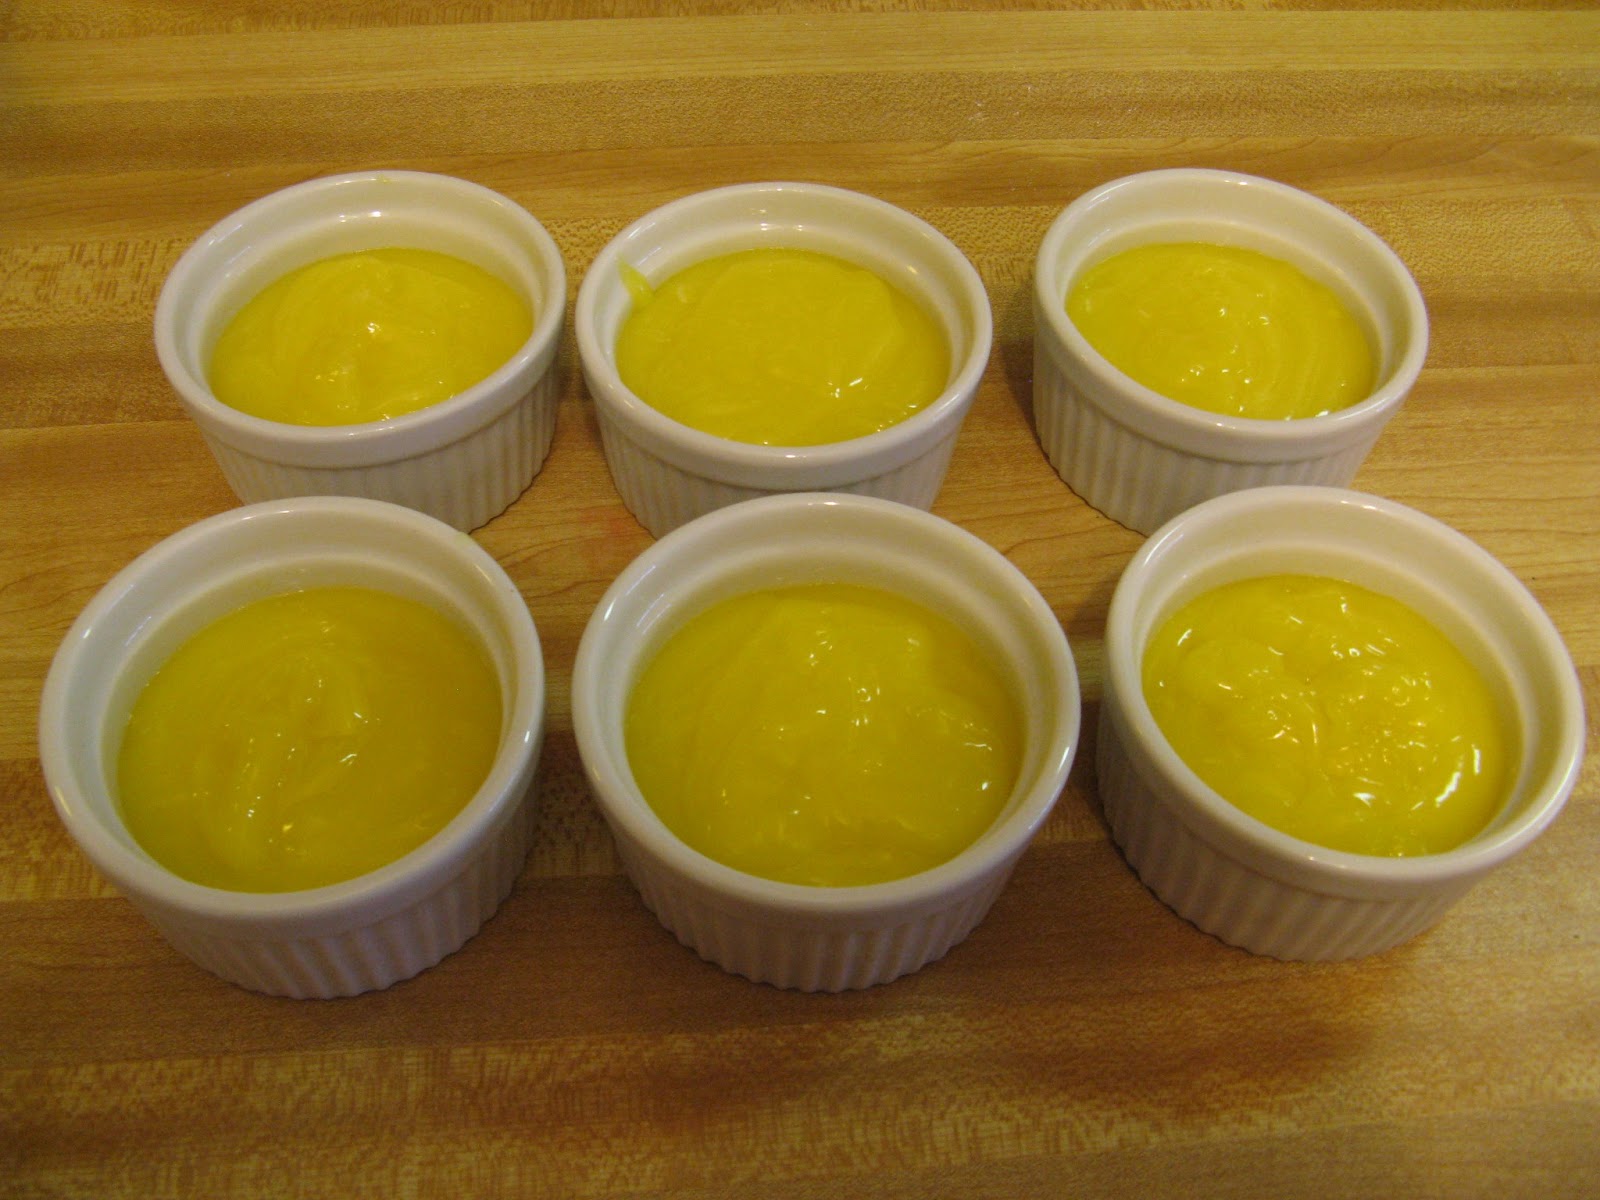
To prepare to bake, stir the lemon filling until smooth (a skin may have formed during the short wait time).  Distribute among 6 ramekins.  Six little pots of sunshine.


Next, place a large dollop of meringue on top of each ramekins.  


Smooth it out with the back of a spoon, being sure to cover the lemon curd and that the meringue reaches the edge every where.  Now, place another huge spoonful of meringue onto each ramekins.  Smooth it with the back of the spoon into a nice mountain.  Resist the urge to eat one right now.


If you desire, you can create peaks by gently push the back of the spoon onto the meringue and briskly pulling it away. 


Once all meringue has been distributed, place the ramekins on a cookie sheet and bake for 15-20 minutes.  I prefer my meringue to be golden brown, so I go the full 20 minutes.  Cool to room temp to serve.

Mmmmmmmmmmmmmmm . . .looks divine.


And it tastes even better.


So, the next time you are looking to impress someone - or maybe you just feel like a lemony dessert and don't want to make pie crust - give these babies a whirl.  Even though there is a few steps, don't let it scare you.  They are pretty simple to make.  And oh so yummy to eat.

Recipe with Directions:


Lemon Meringue Individuals (makes 6 ramekins)

Filling
1 and 1/2 Cups Cold Water
1 Cup White Sugar
1/4 Corn Starch
1/8 Teaspoon Salt
6 Large Egg Yolks
3/4 Cup Lemon Juice
2 Tablespoons Unsalted Butter, cut into small chunks

Meringue
1/2 Cup Water
1 Tablespoon Cornstarch
6 Large Egg Whites
1/2 Teaspoon Vanilla Extract
1/2 Cup White Sugar
1/4 Teaspoon Cream of Tartar

Preheat oven to 325 degrees Fahrenheit.

First thing is first.  Separate your eggs - yolks in one bowl, whites in the other.  Set aside for now.

Now for the filling.  In a large, non-reactive pan - combine the water, sugar, sugar and cornstarch. Heat on medium and bring to a simmer while constantly whisking.  When it starts to turn translucent - remove from the heat.  Then whisk in the egg yolks two at a time until well combined. Add the lemon juice and continue to whisk.  Add the butter and return the pan to the heat. Keep whisking until the butter is incorporated and it is back to a full simmer.  Remove from heat and set aside.

Next, we'll make the meringue.  In a small saucepan, combine the cornstarch and water and heat over medium while whisking constantly.  Be sure to use a clean whisk.  When it begins to bubble and thicken, remove from heat and set aside.

In a large bowl, add the eggs whites and vanilla.  With an electric mixer, whip the egg whites on low until frothy.  Meanwhile, in a small bowl mix together the sugar and cream of tartar.  Now, add the sugar/cream of tartar mixture 1 tablespoon at a time to the egg whites.  Whip  until soft peaks form.  Then, add the cornstarch mixture one tablespoon at a time to the egg whites and continue to whip them.  Once all the cornstarch mixture is all incorporated into the egg whites, continue to whip the meringue until stiff peaks form.

To prepare to bake, stir the lemon filling until smooth (a skin may have formed during the short wait time).  Distribute among 6 ramekins.  Next, place a large dollop of meringue on top of each ramekins.  Smooth it out with the back of a spoon, being sure to cover the lemon curd and that the meringue reaches the edge every where, creating a seal.  Now, place another huge spoonful of meringue onto each ramekins.  Smooth it with the back of the spoon into a nice mountain. If you desire, you can create peaks by gently push the back of the spoon onto the meringue and briskly pulling it away.

Once all meringue has been distributed, place the ramekins on a cookie sheet and bake for 15-20 minutes until the meringue is golden brown.  Cool to room temp to serve.


Friday, January 4, 2013

Black Bean Burritos

I am a firm believer that some of the best meals are forced through creativity with what's remaining in the fridge and cupboards.  AKA . . .I need to go grocery shopping.  Upon perusing the pantry, I realized I had two cans of black beans.  No brainer here - that told me I had to use one of those cans today.  But how was I going to use it?  Typically, we keep black beans around for my jambalaya or stuffed peppers . . but neither of those were going to happen today.  I really didn't want to go to the store either, so whatever I made was restricted to my barren back stock of goods.  And I can't complain, I came up with some pretty delicious black bean burritos!  Please note, I like things spicy.  So, if you think ketchup is spicy - you want to cut back on the seasoning in this recipe.
015

Black Bean Burritos

1 Can Black Beans, drained and rinsed (I prefer Wild Harvest brand black beans)
1.5 Cups frozen Bell Pepper Pieces with Onion (Bird's Eye makes a pepper/onion blend)
1 TB Olive Oil
1/4 Cup Salsa (I use Essential Everyday Medium Salsa)
1/4 tsp Cayenne Pepper
1/2 tsp Cumin
1/2 tsp Coriander
1/2 tsp Chile Powder
1 tsp Chopped Garlic
4 TB Sour Cream
4 Flour Tortillas (medium sized)

In a medium saucepan over medium heat, add the olive oil and the pepper/onion blend.  Saute until thawed.  Add the remaining ingredients and stir until well combined.  Continue to cook until the liquid is evaporated and everything is hot.

To serve, spread each tortilla with 1 TB of sour cream.  Next, divide the bean mixture evenly amongst the tortillas.  Fold and roll each tortilla into burrito form and enjoy!

This recipe makes 4 burritos.