Showing posts with label Brownies. Show all posts

Friday, August 29, 2014

Peanut Butter Mousse Brownies

This one.  Yes.  This one.  This is the one that whispers to you late at night while everyone else is sleeping.  Did you hear that?  That soft, dark velvety voice . . ."Pssssst.  I'm in the fridge waiting.....  no one will mind if you have just one little nibble."  And then BAM!  A whole piece is gone.  True Story.

Who doesn't love another great brownie recipe?  Peanut butter and chocolate unite in this decadent treat!  Don't be shy . . .it is super simps and very impressive.  Don't let the voices get to you.


Peanut Butter Mousse Brownies
Ingredients:

1 Box Brownie Mix + Ingredients to Make It
1/2 Cup Peanut Butter
1 pkg Vanilla Pudding
1 and 1/4 Cup Milk
4 oz Cool Whip

Prepare brownies as directed on the box.  I made mine in an 8x8 pan, which resulted in a thick and decadent brownie.  Let Cool.

While brownies are cooling, prepare the mousse!  In a mixing bowl, add the pudding powder and the milk. I used the whip attachment on my mixer and whipped it on medium for 1 minute.  Add the peanut butter to the bowl and continue to whip for 3-4 minutes, until the peanut butter is fully incorporated.   Now, fold in the Cool Whip (by hand with a spatula or spoon) until just combined.  Gently spread the mixture over the cooled brownies.  To store, cover them and keep them in the fridge.


Friday, August 15, 2014

Loaded Chocolate Zucchini Bars

In the spirit of summer and for the love of zucchini, I fell prey to a recipe I found on Pinterest for a low-fat brownie that uses zucchini, banana and applesauce.  No egg, no oil.  Original recipe can be found here.

Well, I had all the ingredients laying around, so I thought "what the heck" and gave them a try.  They are delicious, but not a substitute for a real brownie (unless you are seeking dietary substitutes of sorts).  The texture is very fudgy - which is awesome.  My recommendations:  
  • Let cool completely and/or let sit a day before eating.   The first one I ate, I thought was just okay.  The second one I ate (after they had sat a day) was border line phenomenal.  
  • Alter them however you would like.  I added unsweetened coconut and grated milk chocolate to mine.

I think the reason I loved this recipe though, is mostly because I was able to sneak in some veggies and use some of my favorite kitchen tools (I cannot lie:  I love my KitchenAid shredder attachment;  I used it to shred the zucchini as well as shred the frozen banana that I used).   Furthermore, these would be really great for a breakfast on the go.


Loaded Chocolate Zucchini Bars 
Ingredients:

1/4 Cup Applesauce
1 Small or Medium Banana, mashed
3/4 Cup Sugar
1 tsp. Vanilla
3/4 tsp. Baking Soda
1/4 Cup Cocoa 
1/4 tsp. Salt
1 Cup Zucchini, shredded
1 Cup Flour
2 oz Mini Chocolate Chips
1/3 Cup Coconut, shredded and unsweetened

Step 1:  Preheat oven to 350 F.  Grease a 9x9 baking dish.  

Step 2:  In medium sized bowl, mix together the applesauce, banana, sugar, vanilla and zucchini.  Next, stir in the baking soda, salt, cocoa and flour.  Once all is incorporate well, stir in the coconut and chocolate chips.

Step 3:  Pour the batter into the greased pan.  Bake at for 25-35 minutes.  When it begins to pull away from the edges and the middle is set, it is done baking.  As well, you can do the toothpick test (insert clean toothpick into the middle and if it comes out clean, they are done).

Cool completely before eating.  Serves 9.

Friday, June 6, 2014

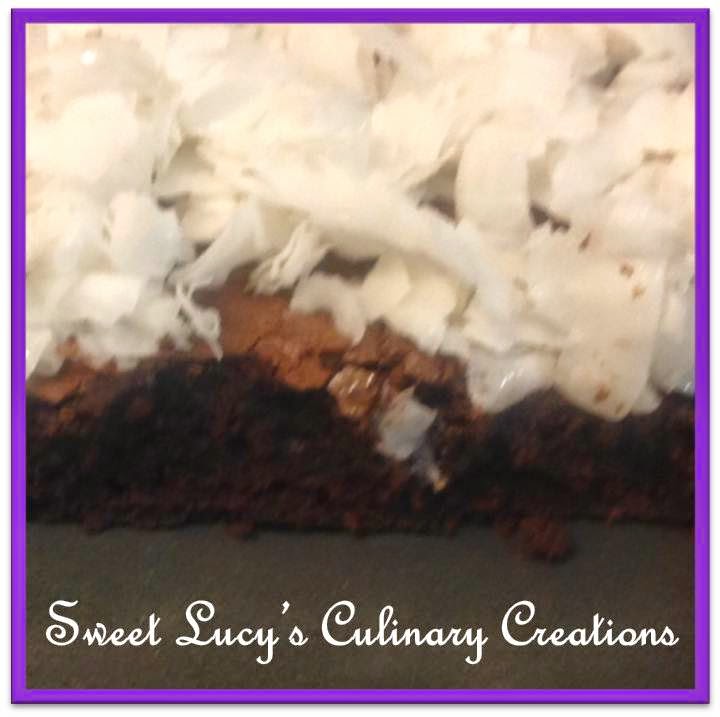
Coconut Topped Brownies

Here is an easy recipe that is reminiscent of a Mounds bar + brownie.  If you love coconut and you love brownies . .. this is for you.  Besides the flavor, I love the stark contrast of the colors.  Please excuse me while I go stuff my face with another one of these.


Coconut Topped Brownies
Ingredients:

1 Box Brownie Mix + Ingredients to Bake
2 Cups Coconut
2 Tablespoons Corn Syrup

Step1:  Prepare brownies as directed on the box.  In order to support the coconut later, you may want to go for either the smaller pan option or the 'cakey' version of the brownie.  I baked mine in a bar pan, which is approximately 11x7 inches.  Bake according to package instructions.

Step 2:  Allow the brownies to cool completely.  Meanwhile, in a medium bowl - add your coconut.  Then, add the corn syrup.  Stir together until the syrup is incorporated with the coconut thoroughly.  Please note, this will be very sticky!

Step 3:  Once the brownies are cool, spread out the coconut on top of the brownies.  This will be very sticky . . .be gentle.  You likely won't get a 'smooth' spread on top.  Be careful not to tear the brownies!  Just gently dab the coconut to spread it out.

For storing, please be sure to cover tightly otherwise the coconut will dry out and become hard.

Enjoy!

Please Note:  If you are making a 9x13 pan of brownies, you may want to double the coconut/corn syrup topping part of the recipe.


Friday, August 30, 2013

Brownie "Dump" Bars

There are a few recipes that always seemed to be repeated every few weeks at my Mom's house when I was kid.  Scotcharoo's (sans the frosting), White Cake w/ Almond Frosting, and Brownie "Dump" Bars.  And it's the Brownies that keep reappearing at my own household.

Please Note:  this picture was taken late at night . .. and it seems that the brownies tend to disappear in the blink of an eye.  I'm lucky I was able to capture a photo before they were all gone!


The recipe comes from a community cookbook called "Recipes in Rhythm" - it was a cookbook published for a marching band fundraiser.   And when you open the book, it falls right to the page with this recipe on it.  How convenient for me :) It's a basic, reliable and no-frills brownie - made in one bowl. Everyone needs a recipe like this in their arsenal for when your craving something simple and sweet.  Or to feed all the neighborhood kids because your house is party-central.

Brownie "Dump" Bars
Ingredients:

2 Cups Sugar
1 Teaspoon Salt
1 and 3/4 Cup Flour
1 and 1/4 Cup Vegetable Oil
5 Eggs
1 Teaspoon Vanilla
3/4 Cup Cocoa Powder
1 Cup Chocolate Chips (optional)

Preheat the oven to 350 degrees Fahrenheit and grease a 9x13 pan.  "Dump" all ingredients (except chocolate chips) into a large bowl.  Mix with spoon until all ingredients are moistened and combined.  Spread into greased pan.  If using, sprinkle with chocolate chips on top.  Bake for 30 minutes or until toothpick inserted comes out clean.  

Please note, I did not use chocolate chips this time.  I was fresh out (as in I-ate-them-last-night).


Friday, June 7, 2013

Brownie Sundaes in a Mug

BEWARE:  Addictive Recipe Below . . .And Not-Very-Good Photos!  EVIL and ADDICTING!

Okay.  That's my PSA for the week.

We've all seen them:  recipes in a mug / single serve recipes / cooked in the microwave.  Yeah yeah yeah.  So, I finally gave in and tried one out.   I always thought that I never would.  I have a family.  Why would I need a single-serve ANYTHING??  Especially a brownie!  The fam would kill me if I didn't make a whole pan for them to devour.

And then opportunity knocked.  Or perhaps just shut the door.  As in, the teenager was gone for a few days and the little was already asleep for the night.  And hubby wanted something sweet to eat.


E.V.I.L.

I warned you.  But if you still want to move forward . . .here is the recipe with very little tweeks.  All credit really goes to the blog above.  I didn't really change much.

Brownie Sundae in a Mug

4 Tablespoons Flour
2 Tablespoons Sugar
Pinch Of Salt
1/8 teaspoon Baking Powder
2 Tablespoons Cocoa Powder
1 Tablespoon Melted Butter
1.5 Tablespoons Oil (such as vegetable, canola or coconut)
1 Tablespoon Water
1/4 Teaspoon Vanilla
1 Tablespoon Chocolate Chips

Melt the butter in your favorite mug via the microwave (took mine about 20 seconds).  Add the remaining ingredients and stir well.  

Scrap the sides down and press firmly into the mug.  Microwave for about 1 minute.  Then check for your desired done-ness.  I nuked mine in-total for 90 seconds.  Please note, it will be very hot!!!  Let cool for 5 minutes.   Not too pretty .. . but I warned you!


To serve, top with HUGE scoop of ice cream.  Eat slowly . . .it's delicous.  So delicious, we had them not just one night . . .but two nights in a row.  SHHHHHHHHHHHHhh . . .don't tell the kids!!!